Published On Mar 25, 2023
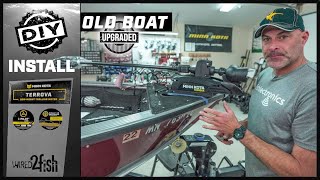
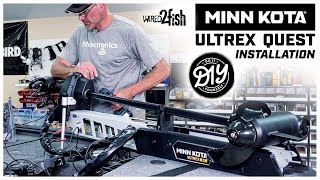
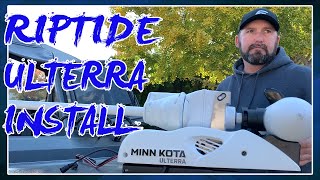
In this comprehensive video tutorial, expert boat rigger Andy Kratochvil of Fish Lectronics (http://www.rigmyboat.com/) walks you through installing a Minn Kota Ulterra trolling motor using the Minn Kota MKA-32 Quick Release Bracket. The quick-release bracket makes it easy to remove the trolling motor when not in use, establishing a perfect fit with your boat cover or if you need to remove the trolling motor for repair.
FEATURED TROLLING MOTOR
• Minn Kota Ulterra Bow-Mount Trolling Motor with i-Pilot Link and MEGA Down Imaging - 60'' - 80 lb, Buy at Bass Pro Shops: https://wired2.fish/3TDWZG4
• Minn Kota Quick Release Bracket / MKA-32, Buy at Bass Pro Shops: https://wired2.fish/40wagTq
00:10 Tools for the job.
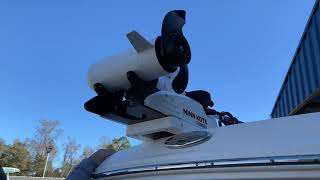
00:24 How to install the quick release bracket. Andy demonstrates how to install the MKA-32 bracket, followed by guidance on properly positioning the trolling motor on your boat. This includes avoiding contact with the trailer during launching and landing, preventing the trolling motor from hitting the boat when deployed, ensuring the trolling motor head doesn't hit objects like docks in the stowed position, and avoiding interference with the bow light.
10:22 Marking final trolling motor position. Using masking tape, we mark the trolling motor's final determined position and attach it to the boat with the provided fasteners. We share several helpful tips, such as using an anti-seize compound when fastening stainless steel components, to guarantee a smooth installation.
14:28 How to mount the trolling motor to the boat.
14:45 How to install the prop on the trolling motor. This process revolves around ensuring the drive pin on the drive shaft fits into the prop.
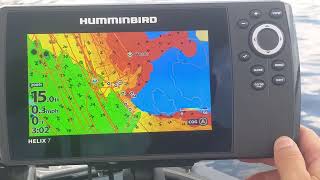
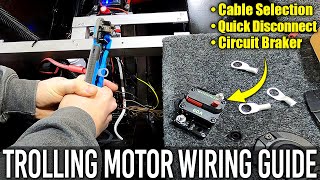
16:07 Cord identification and management. Proper cord management is essential, so we explain the function of each cord, including the foot pedal plug, trolling motor sonar transducer cord, and i-Pilot link cord, which connects to a compatible Humminbird fish finder for i-Pilot link functionality.
19:55 Heading sensor installation. Finally, he covers mounting the heading sensor by using a compass to find a suitable location with minimal magnetic resistance. In longer boats with a greater distance between the heading sensor and trolling motor head, we discuss powering the heading sensor with a temporary power supply and ensuring proper communication between the heading sensor and trolling motor. We wrap up with instructions on pairing the heading sensor and trolling motor for seamless operation.
This in-depth guide will provide you with all the necessary information to easily install your Minn Kota Ulterra trolling motor, ensuring an enjoyable and hassle-free boating experience. And if this job is beyond your capability, please give Andy a ring (218-568-4806) or drop him an email ([email protected])!
► SUBSCRIBE for more AWESOME FISHING TIPS: https://wired2.fish/YTSub
FOLLOW US HERE:
► https://www.wired2fish.com
► / wired2fish_official
► / wired2fish
► / wired2fish