
Published On Jun 28, 2014
https://repairs101.ca/how-to-make-you...
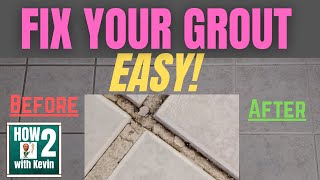
You won't believe the difference in the before and after shots! How to do it yourself tutorial on replacing existing grout without re-tiling the wall. Shows tools, tips and tricks of the trade. So easy, almost anyone can do it. #bathrooms #grout #handyman
Transcript provided for the hearing impaired:
Alright so today on Repairs101 I'm going to show you how I was able to brighten up this dingy looking shower surround in only a few hours a day over a period of a few days.
You know the first time I did this I was twenty years old and I had nothing but a simple putty knife and an old box cutter to work with. And you know what? It still turned out really good. So it's an easy job as far as equipment and skills go but if you're not used to doing manual labour you may find this to be a daunting task.
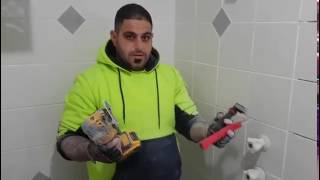
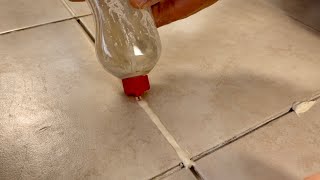
I ended up going with this ready-mix stuff.
Really the first thing I did was repaint the bathroom. Put in the plug and use a drop sheet -- there's going to be a lot of dust that you do not want in your pipes.
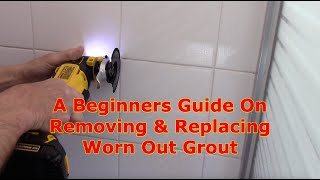
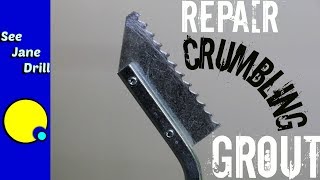
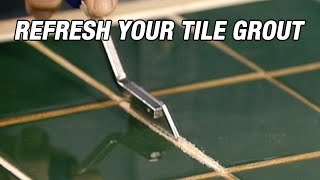
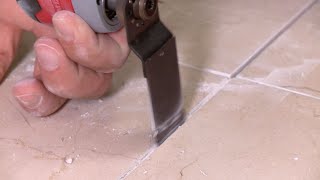
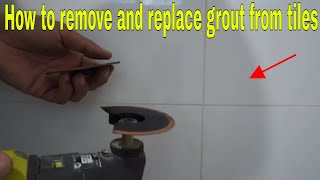
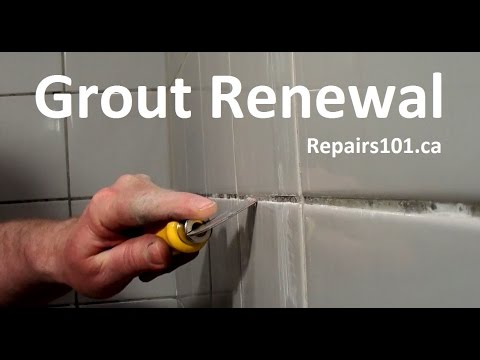
Start by pulling back the old silicone. Then use a grout rake to remove a layer of grout throughout.
Do everything you can to remove the dust without getting the grout wet -- otherwise you're going to have to wait another day for it to dry out.
You'll find that diagonal strokes generally work the best, but not always.
You'll have to wait about half an hour for the mud to set up before you can start sponging it clean.
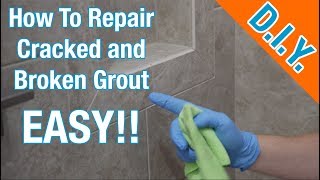
A plastic scraper is ideal for removing excess grout from the tile surfaces before wiping everything down with a sponge for a smooth, even surface.
Now if you can't wait seventy-two hours for it to cure before you have a shower you can hang plastic over the tile like this to protect the grout but you have to take it down right after your shower in order to allow the air to get at it.
Now this last step is by far the most tedious. Have your plastic scraper handy for the little chunks and bits that you'll find are still clinging to the tiles' surface. Polish the haze off each tile individually using your clean, cotton rags.
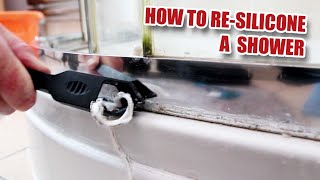
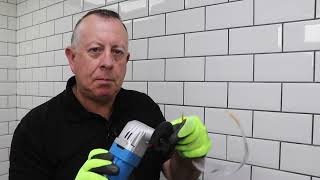
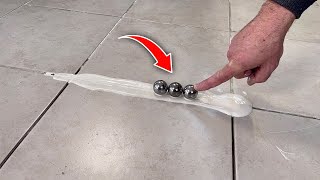
Make sure that your caulking is for bath and tile and smooth it out with a gloved finger dipped in paint thinner.
Alright, thanks for watching -- and don't forget to subscribe!